
Moving large files over Wi-Fi or cloud services can be slow or flaky. If you have a USB cable handy, direct transfer is usually the fastest and most dependable option. Below are the most common ways depending on your desktop OS — with quick tips so nothing goes wrong.
What you’ll need
| Item | Why it matters |
|---|---|
| USB cable (Lightning or USB-C) | Use the original or a good quality cable to avoid disconnects during transfer. |
| Windows PC or Mac | Windows uses iTunes for file sharing; macOS uses Finder (Catalina or later). |
| Apps that support file sharing | Not all apps accept arbitrary files — apps like VLC, Documents, and some photo apps do. |
Method A — Windows (use iTunes File Sharing)
This is the typical route on Windows. If you don’t have iTunes installed, download it from Apple and install it first.
- Connect your iPhone to the PC with the USB cable. Unlock the iPhone and tap Trust if prompted.
- Open iTunes and wait for the device icon to appear in the top-left area.
- Click the device icon → choose File Sharing from the sidebar.
- Select the app you want to transfer files to (for example, VLC or Documents).
- Click Add File… (or drag files into the app’s file area) and pick the files on your PC.
- Press Sync or wait for the transfer to finish. The files will appear inside the chosen app on your iPhone.
Note: If you need files to be available in the Photos app, import them to Photos on the iPhone via appropriate apps or use the Import workflows — file sharing writes into apps, not necessarily the system Photos library.
Method B — macOS (Finder, macOS Catalina and later)
macOS removed iTunes and moved device management into Finder.
- Plug the iPhone into the Mac with the USB cable and unlock it.
- Open Finder and click your iPhone in the sidebar under Locations.
- Choose the Files tab. You’ll see apps that support file sharing.
- Drag and drop files from your Mac into the app’s area in Finder. The files copy instantly.
Quick troubleshooting
- Device not appearing? Try another USB port, a different cable, or reboot both devices.
- Permission prompts — always unlock the iPhone and tap Trust when asked.
- Large file fails — check free space on the iPhone app and try smaller batches.
When file sharing isn’t enough
Sometimes you want files to land in the Photos app or be available system-wide — or you want a simpler drag-and-drop without installing iTunes. In that case a browser-based or app-based transfer can help. For example, ShareGo provides a quick, browser-first transfer flow for moving files between devices without drivers; visit sharego.io to see that option.
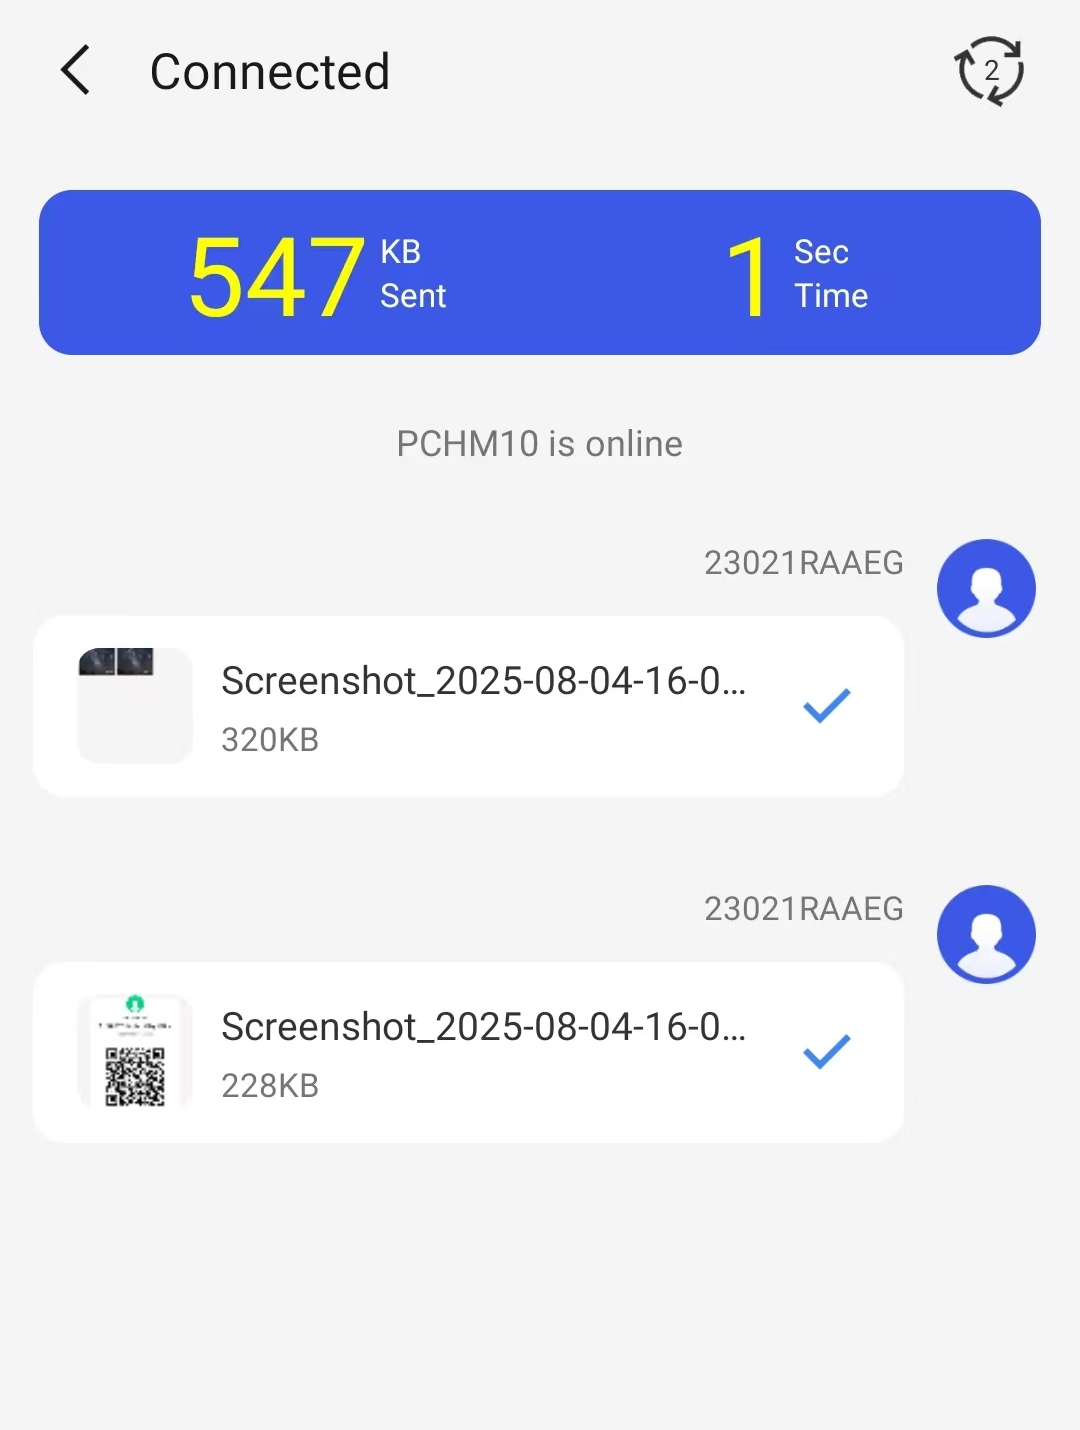
Visual summary
Here’s a quick visual checklist you can follow:
Recommended apps that accept files via USB
Many apps support file sharing in iTunes/Finder. A few commonly used ones:
- VLC — great for videos of many formats.
- Documents by Readdle — versatile file manager and viewer.
- FileBrowser — if you need network + local file management.
Final tips — faster, safer transfers
- Use a good USB cable and a direct USB port (avoid hubs for large transfers).
- Transfer in chunks for very large files to reduce the risk of a single failed copy.
- Keep your device unlocked during transfer and avoid heavy app usage on the phone until it finishes.
If you prefer a wireless route for routine transfers (no cables, QR-code pairing, and cross-platform support), check out the tools on our site or try the browser flow at ShareGo — it’s handy when you’re on the move.
Ready to transfer?
Whether you use a cable or go wireless, pick the method that fits your workflow. For quick, no-install transfers visit sharego.io.
Download ShareGo